4 Things to Consider Before Enabling iCloud Photo Library
The ability to take beautiful photographs — and look at them immediately — on a device that fits in your pocket has removed much of the friction surrounding storing, organizing, and sharing your personal works of art.
But this sea change in photography has created new issues, such as:
- Pictures are easier to take and retain. Your iPhone doesn’t swell like an overstuffed photo album if you keep all those blurry photos that would be better off consigned to the dustbin of history.
- Camera capabilities have improved steadily over time, radically increasing storage requirements. Did you ever think you’d be able to shoot high-definition video on something like an iPhone?
-
Thanks to the increased space requirements of photos and videos, our iPhones and iPads, not to mention some Macs, can’t handle the size of our photo libraries.
-
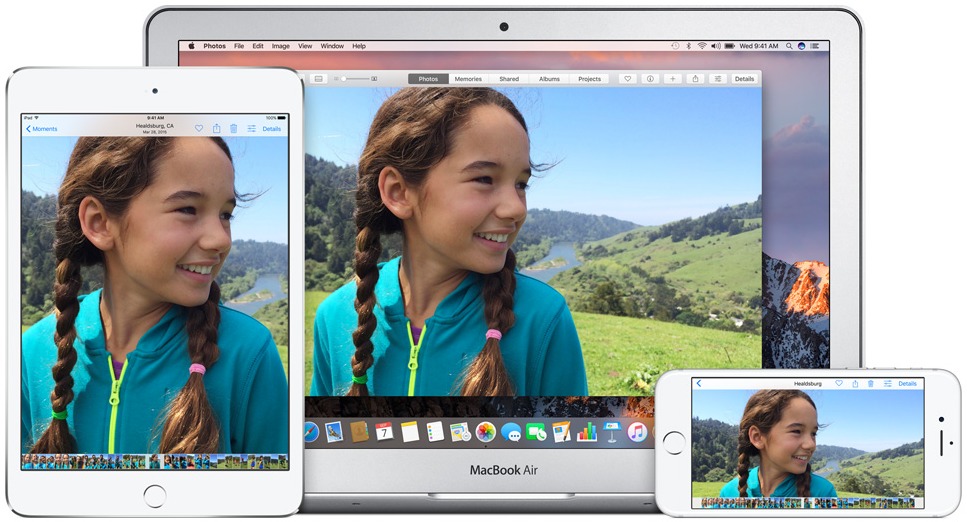
We want to access our photos and videos from any of our devices, at any time, and have any edits we make reflected everywhere.
iCloud Photo Library is Apple’s solution to these issues. There are competing options, such as Google Photos, Lightroom mobile, Mylio, and Amazon Prime Photos (all explained in Jeff Carlson’s “Take Control of Your Digital Photos on a Mac”), but the idea behind all of them is basically the same:
- Provide more space to store our photos and videos in the cloud
- Allow us to access these photos and videos from any of our devices
This cloud-based approach has a couple of welcome byproducts. Although it shouldn’t be seen as the backup, a cloud-based photo library certainly does provide another copy of everything in a location that’s safe from fire, flood, or theft. Also, sharing photos with family and friends becomes a bit easier.
If you decide to use iCloud Photo Library, here are four things to think about before you flip that switch and turn it on.
Cull Photos First… Or Not — Many of the features of Apple’s Photos app — automatic albums like Selfies and Screenshots, facial recognition, Memories, and searching for photos by generic categories like Mountains or Snow — eliminate much of the tedium of organizing photos and help us avoid throwing things away.
After all, why toss any photos when Photos can organize most of them automatically for later reference? It’s much more fun to keep shooting than to engage in the chore of trashing photos that, upon further review, you’d be ashamed to admit you took.
How does this apply to iCloud Photo Library? If you have time now, you might want to delete unnecessary photos like the eight nearly identical photos I apparently just took of my sleeping cat (who, like most sleeping cats, didn’t move the entire time). That will reduce the upload and download times for iCloud.
On the other hand, if you’re thinking that it would be way more fun to clean up your photo collection while lounging on the couch with your iPad in the future, just leave all the cruft in place for now — you can always trash it later.
Start with the Host with the Most — It may take quite a bit of time to upload all your photos and videos to your iCloud Photo Library: days or even weeks, depending on your upstream Internet speed and how many photos and videos you have.
In my case, the vast majority of my several thousand photos and videos were stored on my Mac. Many were duplicated on my iPad and iPhone because I had manually synced them there at some point in the past. So I started with the Mac, and even with the library culling that I performed, it still took several days to finish.
But there are plenty of people who have all or most of their photos on an iPhone or iPad, or maybe don’t even own a Mac. If you’re in that situation, start from the device that contains most of your photos and videos. Once that first upload is done, you can repeat the process with your other devices.
Happily, to make sure you don’t chew through your monthly data limit uploading photos, iOS devices won’t upload to the iCloud Photo Library using a cellular connection, just via Wi-Fi.
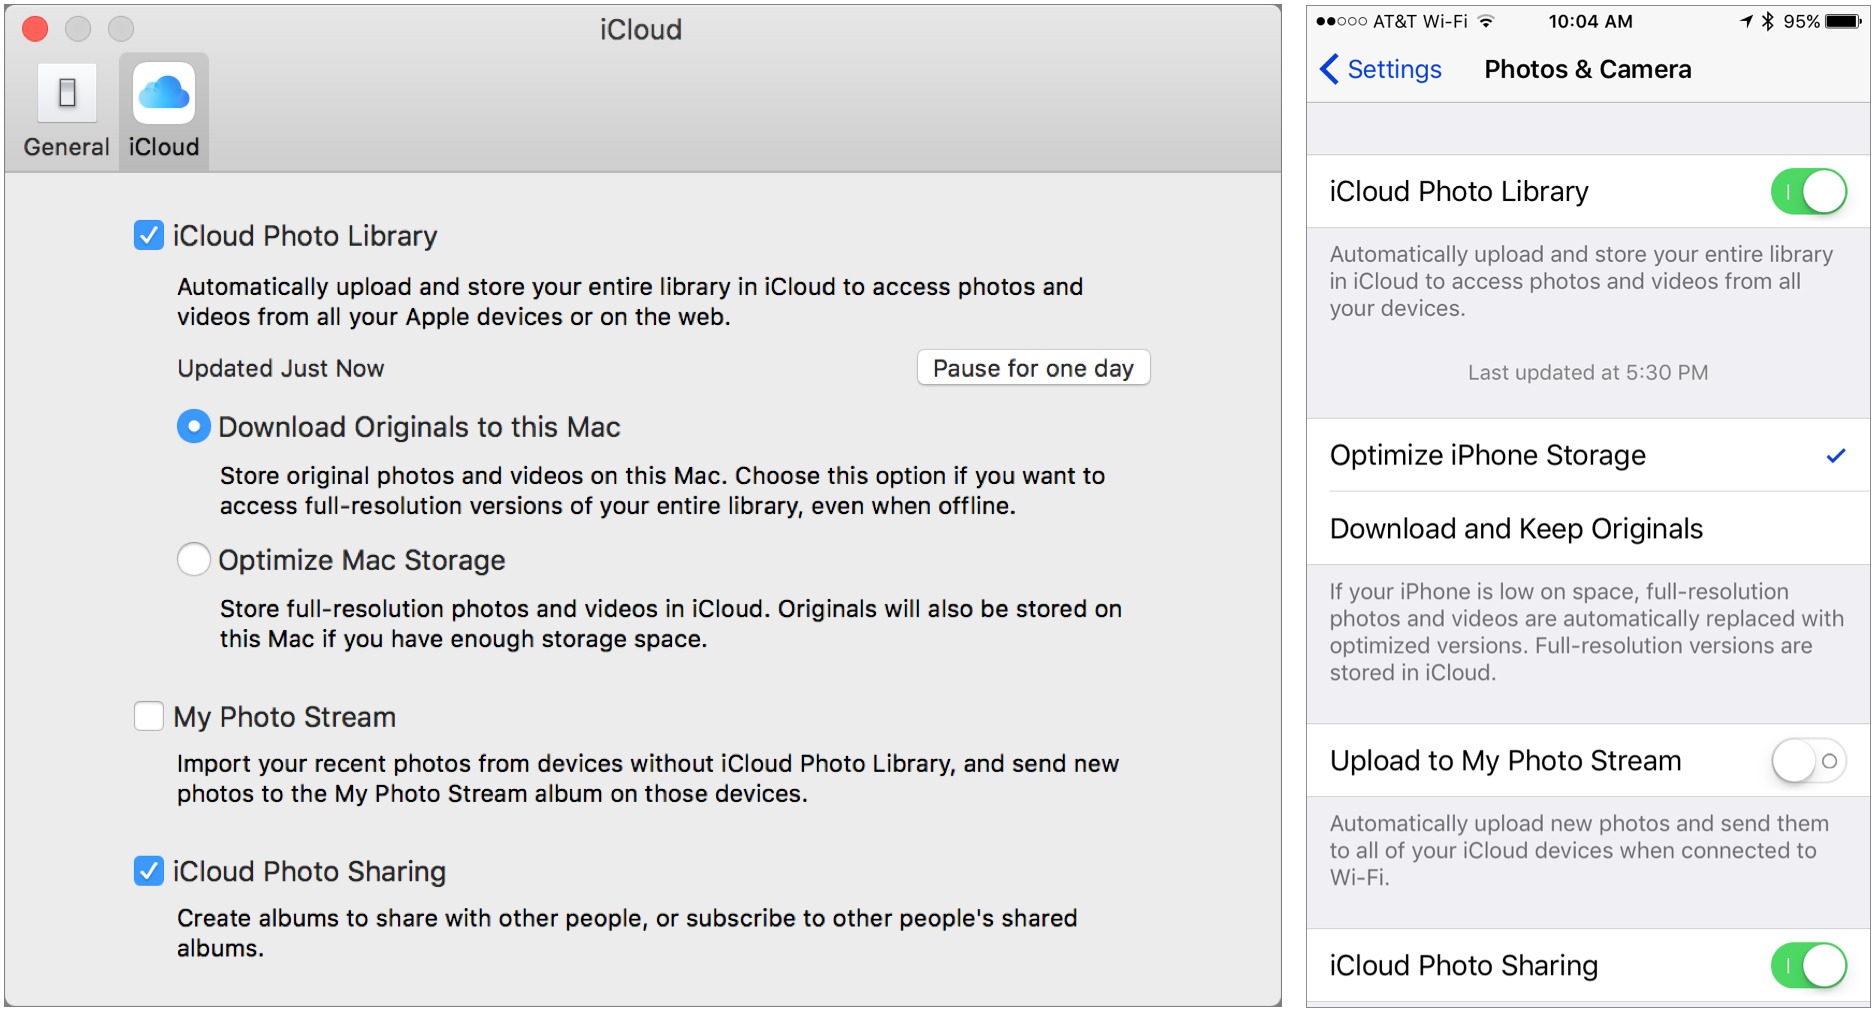
If you find your Mac or iOS device is getting bogged down, or your Internet connection has slowed considerably as a result of all the uploading, you can pause the upload. It will resume automatically after a day, or you can start it again manually before bed. On the Mac the Pause button is in Photos > Preferences > iCloud; in iOS look for it in Settings > Photos & Camera.
Optimize Photos Where Appropriate — iCloud Photo Library always stores your photos and videos in the cloud at their original full resolutions.
But you likely don’t have enough space on your iPhone or iPad, or even possibly on a MacBook Air, to store all that data. That’s why Apple gives you the option to instead store “optimized” versions (small thumbnails) on any of your devices. When you want to work with an optimized photo, Photos downloads the original.
Think carefully about where you store full-resolution and optimized versions of photos. I opted for optimized copies on my iPhone and iPad, but I chose to keep the full-resolution versions on my Mac. The Mac is where I tend to exercise my meager photo-editing skills, and I would prefer not to wait for each photo to download before I edit it.
In addition, I back up my Mac both locally via Time Machine and via the online service Backblaze, which puts my full photo library in four different places — iCloud Photo Library, my Mac’s drive, my Time Machine backup drive, and Backblaze. Should disaster strike, I’m confident that I won’t lose any precious photos.
Space Is Money — My Photo Stream was Apple’s initial foray into syncing a limited number of user photos via the cloud, and the photos it syncs do not count against an iCloud account’s storage limits (it doesn’t work with videos). In contrast, all the photos and videos in iCloud Photo Library do count against that storage limit.
A free iCloud account gives you 5 GB to get started. But, particularly if you’re backing up an iOS device or two, a photo library of any decent size won’t come close to fitting in that space.
Fortunately, Apple notifies you before you start uploading if your iCloud account needs more storage space, and you can buy additional iCloud storage at a relatively low cost: $0.99 per month for 50 GB, $2.99 for 200 GB, $9.99 for 1 TB, or $19.99 for 2 TB.
In my case, I needed to do only a little bit of editing to whittle my photo library down so it was comfortably below the 50 GB mark, giving me some room for short-term growth and saving me a couple of bucks a month. For me, it wasn’t worth paying for the extra space up front with an eventual goal of taming the photo library later, especially since I hadn’t been especially motivated to do so for several years. In addition, there are three other members of my family with their own iCloud accounts, so walking the talk was a factor in my decision.
That said, most people probably can’t drop their library size significantly enough to fit comfortably into a lower pricing tier. And remember, at 2–3 MB per iPhone photo, library size can grow quickly. Still, there’s no reason to pay more than necessary; Apple will happily tell you if you need to upgrade again in the future.
Annoyingly, there’s no way to buy iCloud storage for a year at a time, so you’ll be getting and accounting for a small iCloud storage payment every month no matter what.
Flip the Switch — Once you’ve thought about these things and are ready to go, turn on iCloud Photo Library in Photos > Preferences > iCloud on the Mac, or in Settings > Photos & Camera in iOS. Then reward yourself with a favorite beverage, particularly if you’ve done any pruning of your photo library.
While you wait for your photos to upload, which will take days or even weeks, you can still use your Mac or iOS device normally. Do not stare at the progress count or try to second-guess what’s happening. And in particular, do not turn iCloud Photo Library off and back on, since that will force the system to evaluate every photo again, slowing the process further. Just let it run and it will finish eventually.
In the meantime, can I recommend a relaxing hobby that will get you away from the screen, like maybe photography?
All of this is very good advice, but it is also important to remember later on if a friend or relative offers you photos of an event. Our son loaded a lot of high res photos of our grandson on his mother's computer not knowing we had iCould photo library turned on. Before we realized what was happening we burned through our monthly data cap in a week.
I learned this the hard way. We took a trip to Disney and got the photo package where they give you full resolution files for all the character and ride photos that get taken for you over your trip. In the end, we had about 300 pictures. I downloaded them all and added them to iPhoto which then got to work re-uploading them to iCloud. My Mac was unusable for two days.
I run into this all the time...I snap away knowing I'm only going to keep about one out of ten of the photos.
So what I now do is to download from my DSLR not into Photos but using Image Capture. That gives me the opportunity to go through them with a quick once-over, delete the ones I'm not going to keep, and then import the rest into Photos. I don't have to make painstaking decisions...I can make those later. Just get rid of the ones that at a glance I can get rid of.
Good idea--reviewing via Image Capture, I mean.
Image Capture, the unsung hero of Mac photo management.
This is a good thing to remember (and monitor) *after* you turn on iCloud Photo Library.
The biggest problem with how Apple designed iCloud Photo Library is that even if you choose to optimize images, it still requires your device to show ALL THE THUMBNAIL IMAGES FOR ALL 100% OF YOUR IMAGES. Why? Because iCloud Photo Library always requires you to DISPLAY ALL 100% OF YOUR IMAGES ON EVERY DEVICE. You are NEVER allowed to show just a SUBSET of your images. Therefore, people with smaller capacity iPhones or iPads (such as 16 GB or 32 GB devices) WILL STILL RUN OUT OF SPACES ON THEIR DEVICES... even if they turn on optimize images. The ideal solution from Apple would be to let people store ALL 100% of their images in the cloud, but only display a subset of images on their devices. As it stands now, if you dare try to remove an image from your device, it gets deleted everywhere. Apple really needs to rethink this entire thing from the ground up.
BUT THUMBNAILS IMAGES ARE SMALL not like your CAPS LOCK
1. It gets better - if you took a picture yesterday that you want to share - boom - already a thumbnail - so if you are at a low bandwidth area SOL
2. He didn't use cap lock - he used caps - because he really was shouting.
3. Thumbnails are more problem than solution.
Don't do it. Don't use iCloud to store images and vids. There are too many disaster stories that cannot be ignored. Apple has never 'got' cloud.
It is disappointing that this story did not point out all the downsides using iCloud to store your digital images.
I'm still using My Photo Stream.
It allows me to easily get photos from my iPhone to my Mac, but it doesn't interfere with originals, it doesn't hog bandwidth, and it doesn't cost anything. On the Mac I then select, edit, and make albums that then get synced back to the iPhone and iPad.
It's a barebones solution, but it's simple, free, and works most of the time - and when it doesn't it's because Apple doesn't get the cloud and there you're no better off with iCloud Photo Library.
iCloud Photo Library is useless to me because I have over 4TB of photos. I find it far more useful to store backups of my photos on Amazon Drive which has unlimited Storage for only $60 a year. I currently have 16 TB stored on my Amazon drive using Arq to do the backup. I upload photos also to Amazon Drive's photo folder so it can be accessible to all my devices. This includes backups from my iPhones. Again Amazon gives you unlimited storage. ODrive app will sync whatever folders you want on your Mac and Amazon drive.
Since I'm moving from a MBP that can hold my entire Photo Library to one that can't I want to make use of iCloud Photo Library, while also keeping a local copy of my entire library. I thought of solving this with two separate user accounts on the new MBP with this setup:
User 1 (main user)
Photo Library on local SSD with "Optimise Storage" turned on
User 2
Photo Library on an external HD with "Keep Originals" turned on
The User 1 library would be used for imports and most edits and I would login regularly onto User 2 to update the HD library.
Do you guys think that would work? Any possible problems you can think off?
It sounds feasible, since you're basically simulating having two Macs, one with a lot of storage and one without.
Great, thank you :)