OS X Hidden Treasures: Copy and Paste
Copy and paste may be the most important computing technology of the past 30 years. That may sound odd, but just think how much you rely on it. Most of us use the Copy and Paste commands multiple times every day, probably hundreds of times per week, without even realizing it.
If we didn’t have copy and paste, vast amounts of work would have to be done from scratch, rather than starting from previous bits of text, graphics, or entire documents that just need minor modifications. It would also be far harder to share links to Web pages. Sure, there are share buttons now, but would Twitter and Facebook have gotten off the ground if everyone had to link to cat videos by hand?
Surprising as this may be, some people still don’t understand the basics. And many others are missing out on advanced techniques with copy and paste, not to mention related ways of moving data between documents and apps.
Cut, Copy, and Paste Basics
To understand what the Cut, Copy, and Paste commands do, you first must understand the concept of the clipboard, a virtual container that holds whatever data you copy or cut. Although the clipboard is generally invisible to the user, you can view its contents in the Finder — just choose Edit > Show Clipboard. A small window appears, displaying whatever text or image is currently on the clipboard.
Before you can use Copy or Cut, you must first select some data. That might be text ranging from a character to an entire book, an image or a portion of an image, a file in the Finder, a column of data in a spreadsheet, or a chunk of an audio recording. How you select varies with the situation and the data, but it usually involves clicking once, or clicking and dragging over an area. (Don’t forget the Command-A shortcut for Select All!) Once you have something selected, you can copy or cut it.
When you copy selected data, OS X duplicates it on the clipboard for later pasting. You might copy a street address to paste into a mapping app, copy a photo from Safari to share with a friend, or copy a file in order to move it to another folder.
Closely related to Copy is Cut, which combines the copy action with a delete action. When you cut selected data, it disappears from its original location and moves onto the clipboard. Cut is thus handy for rearranging things. For instance, if you’re writing a report, and you decide that you want to move a paragraph higher up, you can select that paragraph, cut it, and paste it in the new place.
How do you cut, copy, and paste? Once you select the content you wish to cut or copy, choose Edit > Cut or Edit > Copy. To paste the clipboard’s contents, make sure the destination document or folder is active, and then choose Edit > Paste.
But navigating to the menu bar every time you wish to cut, copy, or paste is mind-numbing. Every Mac user should memorize these commands’ keyboard shortcuts — invoking them should be as second-nature as typing:
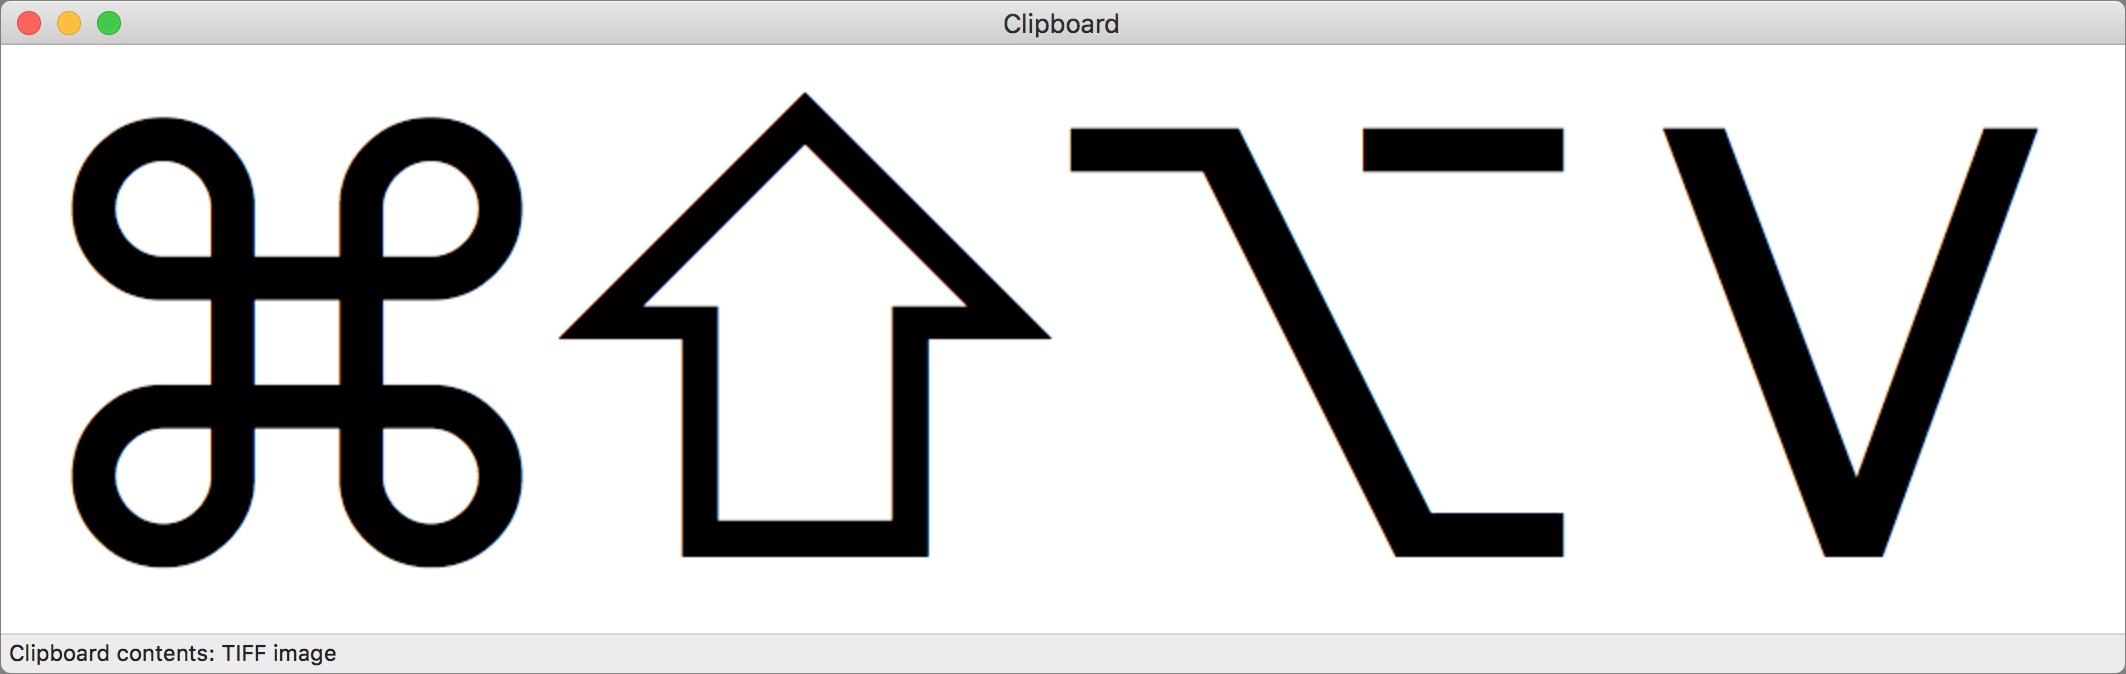
- Cut: Command-X
- Copy: Command-C
- Paste: Command-V
Paste with Style, or Style with Paste
Copying and pasting of text is simple, but it can get tricky when font styles are involved. You won’t have any problems when copying from or pasting into a plain-text editor like BBEdit. But let’s say you copy some text from a Web page and paste it into Apple Mail — it will transfer the typeface, text color, and even background color! All this style info can be useful in some cases, but most of the time, you probably just want the text to take on the look of the text around it, or to use the app’s default style.
In most apps, the command to paste text without any additional formatting is Edit > Paste and Match Style (Command-Option-Shift-V). Some apps might call it Paste Text Only or Paste Without Formatting.
Unfortunately, not all apps have such a command, even when it might be useful. To work around that limitation, turn to utility software, which you may already own. Macro utilities like Keyboard Maestro, launchers like LaunchBar, and clipboard utilities like Copy’em Paste can all remove formatting from text when pasting. For more details on these and other clipboard-related tricks, see Joe Kissell’s “Take Control of Automating Your Mac.”
Some apps (like Pages, TextEdit, and Messages) let you do the opposite, and copy and paste not the actual characters but instead the style of the source text. This capability is less common, and the location of the necessary commands varies widely.
In Pages, for instance, the Format menu contains Copy Style and Paste Style commands. In TextEdit, they’re in Format > Fonts. And in Messages, they’re in the Edit menu. Happily, the keyboard shortcuts remain the same, at least in Apple’s apps: Command-Option-C for Copy Style and Command-Option-V for Paste Style.
OS X’s Little-Known Secondary Clipboard
Whenever you copy or cut something, the new data overwrites whatever is on the clipboard. That can be annoying at times, forcing you to shuttle back and forth to move discrete chunks of data between apps. We don’t want to get sidetracked away from our focus on built-in capabilities of OS X here, but know that if you want access to your clipboard history, all the utilities mentioned just above provide those feature as well. You won’t go wrong with any of them, and if you want to work with multiple named clipboards, Keyboard Maestro and Copy’em Paste can help.
However, back in OS X, there is a secondary clipboard that’s accessible only via keyboard shortcuts: Control-K performs a kill, while Control-Y does a yank.
“Kill” and “Yank” are odd terms, but they come from the venerable command-line Emacs text editor. In practice, Kill and Yank are largely equivalent to the Cut and Paste commands, but with a few differences. Most notably, they have their own clipboard, which is known as a “kill ring” in Emacs, so cutting something with Control-K doesn’t replace whatever is on the main system clipboard. This special keyboard is specific to each app, so it can’t be used to move text between apps, but is helpful for rearranging text within an app.
There are other notable differences. Unlike Command-X, if you press Control-K when no text is selected, it affects everything from the insertion point to the end of the paragraph. If you perform multiple kills with no text selected, each bit of killed text is appended to the kill ring, such that a yank pastes all of them back at once. Finally, when you paste with Control-Y, all styles are automatically stripped from the pasted text.
Kill and Yank work in most OS X apps, but not all, and only seemingly in text-editing areas. Plus, some apps, particularly word processors and text editors, implement the Kill and Yank keyboard shortcuts in slightly different ways. For instance, in BBEdit, they seem to use the system clipboard, so you can kill text with Control-K and then paste with Command-V. And in Nisus Writer Pro, Yank can paste the text in the kill ring multiple times no matter how it got there, and it pastes with styles.
Copy and Paste in the Finder
So far, we’ve focused on copying and pasting text, but many people don’t realize that you can also copy and paste files and folders in the Finder. Dragging is often easier, but there are situations where copy and paste can be more efficient.
To copy a file or folder, select it and choose Edit > Copy filename (Command-C). Make sure you’re selecting the icon and not text in its name. Using Shift-click or Command-click, you can select and then copy multiple items at once. Next, open the window showing your desired location and choose Edit > Paste (Command-V) to paste the items in that spot.
While you can’t use the Cut command on files or folders to move them, the Finder enhances the Paste command to enable you to move items instead of copying them. First, copy one or more items normally and, once you’ve navigated to the destination, press and hold the Option key, and then choose Edit > Move Item Here (it replaces Paste). The keyboard shortcut for Move Item Here is, unsurprisingly, Command-Option-V.
Remember, if you make a mistake and paste in the wrong place, regardless of whether you’re copying or moving the items, you can always press Command-Z to undo the action.
One final tweaky Finder tip. Sometimes you need to tell someone where to find a file or folder that’s nested deeply within the directory structure, such as this folder:
/Library/Application Support/Apple/Automator/Workflows
Rather than type all that, you can copy the item’s pathname. With a file or folder selected, press and hold the Option key and choose Edit > Copy filename as Pathname (Command-Option-C). This copies, as text, the full pathname to the file or folder.
If you’re copying a pathname to paste it into the Terminal app as part of a command line invocation, there’s an even better way to do so: just drag the item into the Terminal window. This approach has the added benefit of reformatting the pathname as necessary.
Copying from Safari
Although we’ve focused primarily on uses of copy and paste that work anywhere, many apps use the commands in particular ways as well. In particular, Web browsers make it possible to copy a variety of things. The details vary slightly between browsers, but in Safari, there are a few different things you can copy from a Web page:
- Text
- Destination URLs from hyperlinks
- Images
- Image URLs
Copying text works just as in any other app. However, for the other types of data, you need to Control-click (or right-click, or however you usually bring up a contextual menu) the link or image. Depending on what you’ve clicked, you can copy a URL or the entire image. (If you remember “The Power of Preview: Pulling Files into Preview” (25 February 2016), you can open a copied image in Preview by choosing File > New from Clipboard.)
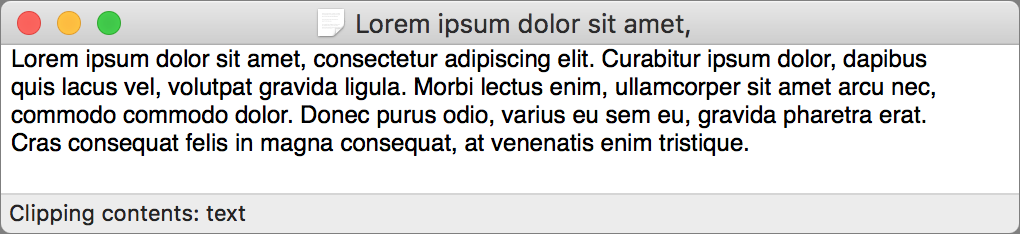
Text Clippings and Drag-and-Drop
This tip doesn’t use the clipboard precisely, but it offers similar functionality. After selecting text in almost any OS X application, you can drag it to your Desktop to create a “text clipping” — a special sort of file that contains the selected text. Text clippings aren’t standard text files, and double-clicking them opens them directly within an unusual window in the Finder. You can’t edit a text clipping, but amusingly, you can select text in one clipping and drag it to the Desktop to create another clipping.
Creating a text clipping is like copying the text; to “paste” the text in a clipping, drag its icon from the Finder into an app’s window. In a sense, text clippings solve the problem of OS X having only a single clipboard, since you could make a number of text clippings, and then drag them in all at once. (You can select multiple clippings and drag them into a document simultaneously.)
Text clippings can contain either plain text or “rich text” in RTF format. Plain text clippings take on the formatting of the surrounding text when dragged into a document, whereas rich text clippings retain their styles.
Some text editors and word processors — like BBEdit and Nisus Writer Pro, though not TextEdit and Pages — can open text clippings as documents, but said documents are new, and there’s no way to save changes back to a clipping. You cannot edit a text clipping in any way.
But wait! If you just want to move some text from one document to another, or even from one app to another, you don’t have to create an intermediary text clipping. Instead, just select the text and drag from one window to the other. This drag-and-drop trick works with graphics too.
What if the document into which you want to drop isn’t visible, or even open? Try this excruciatingly neat set of steps:
- In an app like Safari, select some text and start dragging.
- Drag the text to the Dock icon of an app that accepts text drops, like TextEdit or Pages.
- Continue the drag (don’t let up on the mouse button) and pause while the Dock icon is highlighted; everything on the screen will disappear, except for smaller windows representing that app’s open windows and thumbnails at the bottom of the screen representing recent files.
- Continue the drag to one of the open documents or thumbnails, and once your pointer is over it, pause again. The screen returns to normal, and the document you paused over opens.
- Still continuing the drag, move the pointer to the top or bottom of the document to scroll within the document until you’ve located the spot where you want the dragged text to appear. (With your other hand, you can even use navigation keys like Page Up and Page Down at this point!)
- Once you’ve positioned the insertion point as desired, let up on the mouse button to “paste” the text in that location.
You can start a drag and then use the Command-Tab application switcher to switch between apps as well, but that approach doesn’t provide any way to select recently used documents that aren’t open, as dragging to the Dock does.
It’s Pasteboards All the Way Down — Text clippings and drag-and-drop don’t use the clipboard, but we mention them because they rely on the same underlying technology, which Apple calls “pasteboards.” In OS X, pasteboards are a standardized mechanism for exchanging data within an app or between apps. The clipboard is just one standard public pasteboard that all applications share; drag-and-drop operations use a different public clipboard, and the Kill and Yank commands presumably use yet another. Apple’s developer documentation about
pasteboards actually makes for some interesting reading.
While pasteboards are conceptually simple, implementing them well can be quite complex. For instance, different apps can handle various types of data, and it’s up to each app to put all the appropriate types of data on the shared pasteboard so as many other apps as possible can access it. That doesn’t always happen, so, for instance, you can drag a picture from Photos to Apple Mail, but you can’t drag one to Mailplane because Photos isn’t giving Mailplane a representation of the picture that Mailplane understands.
Should you want to connect clipboard data with Unix apps, check out the pbcopy and pbpaste commands. Explaining how to use them is beyond the scope of this article, but you can start at their man pages.
Here’s a final bit of geeky trivia. Since you can copy data, quit the source app, launch the destination app, and then paste, it’s clear that copy and paste has to rely on yet another background app to work its magic. That pasteboard server process is called pbs, so if you see it in Activity Monitor, you’ll know that it’s powering your clipboard and drag-and-drop, not prepping for the next pledge drive.
Needless to say, you don’t need to know anything about pasteboards, but it’s a testament to Apple’s OS X engineers that moving data between apps with copy and paste, text clippings, and drag-and-drop is so easy. Now let’s show our appreciation by putting these subtle features to use! And, of course, if you have any other clipboard- or pasteboard-related tips, let us know.
This is good as far as it goes. But multiple clipboards are even better! Which of the many utilities that add multiple clipboards do you recommend? I've used CopyPaste Pro (Plum Amazing) for at least a decade. But, it's getting wonky and I'm ready to try a new (multiple) clipboard manager.
As we say in the article, there are a lot of utilities that will provide access to multiple clipboards or, more generally, clipboard history. Since so many do this, it often comes down to what else you might want, or are already using. Personally, I use LaunchBar for access to clipboard history and Keyboard Maestro if I need specific multiple clipboards. I also use Keyboard Maestro to strip formatting from styled text even if the app doesn't support that feature.
I like and use Butler for a pasteboard menuette - along with a lot of other features.
You wrote, "Plus, although you can paste something on the main clipboard multiple times, Yank removes the text from the kill ring, so it can’t be yanked again." I don't find this behavior to be the case generally. You can yank text multiple times in emacs, and I confirmed kill and yank in Pages, Terminal, TextEdit, TextWrangler, and Safari work the same way. The only thing that erases the kill ring is a kill that's not immediately preceded by a kill.
This brings up a second point that wasn't mentioned in the article. If you perform multiple kills consecutively, after the first kill, text is appended to kill ring, allowing you to place a section of text consisting of multiple lines into the kill ring.
Strange - now I can't reproduce the behavior I was seeing with a single use of Yank erasing the kill ring. I'll fix that.
However, I also (at least in TextEdit) can't reproduce what you're saying about multiple consecutive kills appending text to the kill ring. Whenever I do more than one kill in a row, the last one is all that can be yanked.
That's weird. I just did four consecutive kills in TextEdit and then yanked, and all four lines were inserted.
So if you have a file that contains these three words:
Alice likes Bob
You can select Bob, press Control-K, select likes, press Control-K, and select Alice, and press Control-K. Then, with a single press of Control-Y, you get:
Bob likes Alice
When I do that, Control-Y just gives me "Alice". (My example wouldn't quite work because you wouldn't get spaces, but you see what I'm trying to do.)
For what it is worth .....
I made a document in TextEdit with four lines:
Conrad likes coffee.
Alice likes ale.
Bob likes beer.
Donald likes donkeys.
I could turn this into:
Alice likes ale
Bob likes beer
Conrad likes coffee
Donald likes donkeys
in the following way:
- place the cursor at the beginning of the second line (just before 'Alice')
- press ctrl-K 4 times,
- place the cursor just before 'Conrad' (for example by pressing the up arrow key)
- hit ctrl-Y
So, indeed, performing a second kill *immediately* (without doing anything else) after the first one appends that kill to the kill ring.
That's it! The key is that for kill to append to the kill ring, you cannot select text. It must be used in the "kill to the end of the line" mode. Whenever you use normal Mac selection methods, kill replaces the contents of the kill ring. I'll update the article.
Don't forget about the pbcopy and pbpaste commands in the Terminal; handy for piping information into UNIX programs such as Pandoc.
Thanks! That's getting a bit farther afield, but I'll add a mention.
It really gets fun when you involve XQuartz. Selections in X11 programs are automatically copied to the X11 clipboard. Middle-clicking pastes them. And you can even chose if the X11 clipboard should be synced to the OS X one or not.
Gah! :-)
Thanks so much for the enlightening info. I almost didn't read the article, after all what could this old dog learn about Copy and Paste...
well, quite a lot, as it turns out
Thanks so much for sharing this with "the rest of us"
Yeah, we were equally as shocked at how much we learned (and are still learning, clearly!) in the process.
...speaking of such things, it brings to mind a couple of long standing unresolved issues I’ve encountered:
(1) along about Yosemite (I skipped Lion thru Mavericks), TextEdit no longer seems to support (i.e., display) images dragged in from Firefox - works OK from Safari and other apps. Other apps still support this (e.g., Notes, Mail, Word (Office 2011)) and, as a work around, one can drag the images to the desktop and thence into a TextEdit document OK
repeated reports to both Apple and Mozilla feedback have, evidently, proved useless
anybody know what's up with that?
(2) Text Clippings
I’ve used text clippings a lot, mostly, as you pointed out, as a temporary “clipboards” to later be pasted into other documents, metadata tags, etc. I presently have over 1300 of them scattered about my system, many (most) of which I’ve never gotten around to pasting into other documents
Lo and behold, I came to discover Spotlight apparently does not index the text therein and, thus, cannot “Find” them when searching – unless I’m missing something…:-)
soooo, I’ve been on the lookout for some way to either batch convert textClippings to TextEdit (or other) documents or otherwise make them Find-able
…any thoughts?
Thanks in advance for your consideration
Firefox does indeed seem broken in this way - it's putting the wrong data on the pasteboard for TextEdit.
In terms of converting text clippings, the best I can think of would be to find them all by searching for Kind textClipping or extension .textClipping and then drag them all into TextWrangler, which will turn them into text files. It might be better to put them in a snippet keeper like Yojimbo or DEVONthink after that.
You mentioned dragging into the Terminal instead of Copy & Paste - dragging will also quote spaces and other characters, and thus is preferable to Copy & Paste unless you are sure the path is simple and safe or you are going to quote it manually.
Good point!
IClip is wonderful.
http://www.irradiatedsoftware.com/iclip/
Decades later, I still miss the dedicated Cut, Copy, Paste keys on the legendary Apple Extended Keyboard. Hell, every once in a while I still catch myself reaching for one of those!!!
I have three-finger drag set (in the Accessibility system preference, though it's implemented in the trackpad plist).
When I select text and try to create a text clipping by three-finger dragging, it doesn't work. (I can still click-and-hold drag to produce the text clipping.)
I tried Control-K from both Mail and Safari, then Control-Y into Text Edit. It did not work? Anyone know why?
Interesting. With further testing, it looks as though Control-K and Control-Y work only within an app, not between apps. I'm not sure what I was seeing before when we were testing this; perhaps we just assumed it worked because it was like the clipboard, or perhaps we were accidentally using apps like BBEdit that mix those commands with the clipboard.
But kill and yank do work within both Mail and Safari, though only in text-editing areas in Safari.
Thanks for clearing that up. I thought it was me.
Not an OSX problem, but Keybaord Maestro's Clipboard History Switcher stopped working for me a while ago (still using MacOS 10.9.5 and KM 6.4.8). Anything I copy is not showing on the Clipboard Switchter, although I can still see older entries and I can select and paste them. (Peter Lewis couldn't help either.) Any suggestion (besides upgrading :) ?
"With a file or folder selected, press and hold the Option key and choose Edit > Copy filename as Pathname (Command-Option-C)"
This doesn't seem to work for me. When I select a Finder icon & hold down Optn, I just see "Copy ", not :Copy as Pathname"
(I'm running Yosemite)
Yes, this feature is new in El Capitan.
Great article. I didn't know that kill-yank worked outside of the Terminal ...
"There’s no way to edit a text clipping."
Not entirely true. ClipEdit by Everyday Software (http://www.everydaysoftware.net/clipedit/) can edit and style text and crop and zoom picture clippings. The application hasn't been updated since 2006, but it still works for me on Mavericks. It's free (with a suggested $5 donation), so it might be worth a test install.
textClippings are a bit strange: they exist only in the Resource fork of the .textClipping file; the data fork is empty.
You can access the clipping from the command line:
$ DeRez {path}/{filename}.textClipping
Will return the resource fork, with multiple versions of the clipping (RTF, UTF8, TEXT, HTML, etc.), depending on the styling of the original selection.
$ ls -l {path}/{name}.textClipping/..namedfork/rsrc
Returns the long listing of the resource fork, including size.